Learn how to grow your own sweet potato slips for better yields, flexibility in planting, and healthier crops tailored to your local climate.
Sweet potatoes are a versatile and rewarding crop, valued for their nutrition and adaptability. For growers, one key decision is whether to buy slips—young plant shoots—from commercial suppliers or to propagate their own. Cultivating home-grown slips offers several advantages, from better adaptation to local conditions to reduced costs and more control over planting schedules. This guide explores practical methods for growing slips, step by step, while highlighting the benefits of local selection, conditioning, and careful planting. Drawing on field experience and sustainable practices, it aims to help both small-scale and market farmers achieve healthier crops and more reliable yields.
The Benefits of Local Slips
Using locally grown slips instead of purchased ones provides flexibility and resilience. When you grow your own, you can stagger planting dates according to soil warmth and weather forecasts, which is especially useful in regions with short growing seasons.
Commercial slips often experience transplant shock, slowing early growth. In contrast, slips propagated at home adapt more quickly because they have been conditioned in the same local environment. This strong start is crucial for a plant that requires 90 to 120 frost-free days to mature.
Another benefit is autonomy. By not relying on distant suppliers, farmers avoid the logistical challenge of pre-ordering slips months in advance and hoping for suitable shipping weather. This independence supports a more sustainable and self-sufficient farm operation, aligning with the principles of sustainable agriculture.
Selecting Sweet Potatoes for Slips
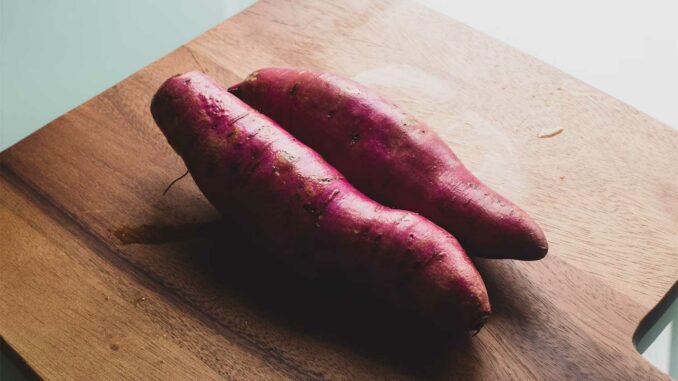
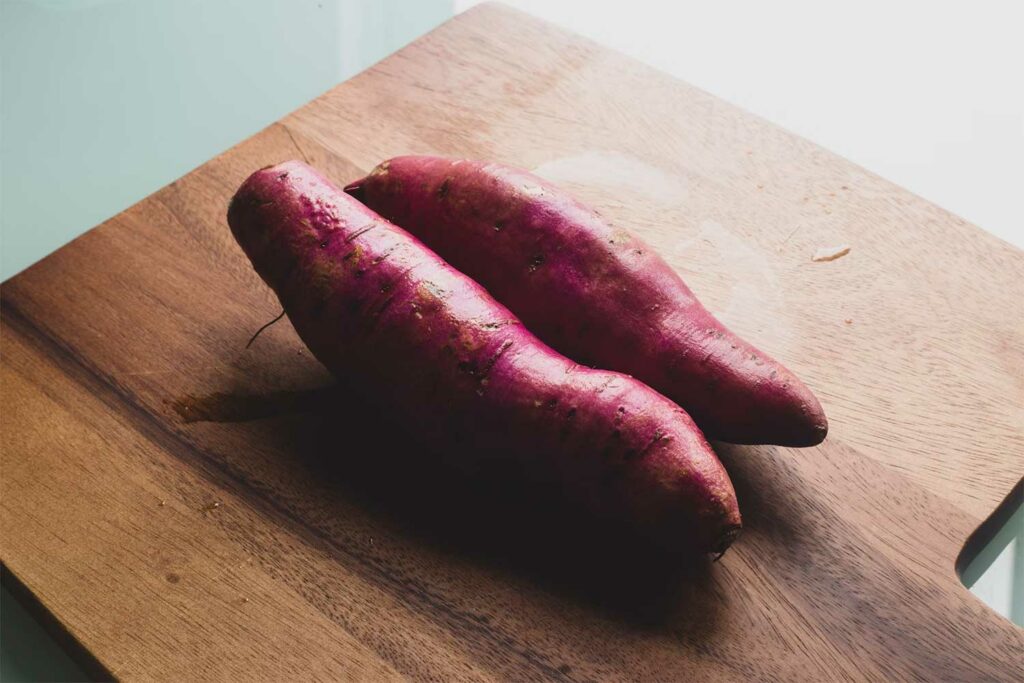
The best time to select roots for future slip production is at harvest, when you can identify the most vigorous and productive plants. Choose healthy, medium-sized roots—around 4 cm in diameter—that show no signs of disease or deformity. Avoid “rat-tail” shapes and discard any roots with pale streaks or virus-like markings.
If you did not set aside roots during harvest, you can use stored sweet potatoes as long as they are in good condition. For colder regions or areas with short summers, opt for early-maturing cultivars to ensure a full crop before the season ends. Sourcing from nearby growers is advisable, as local varieties are already adapted to your soil and climate.
Limiting the reuse of your own stock to two or three years before renewing it helps reduce the risk of pathogen build-up, preserving plant vigor and yield.

Timing and Preparation
Proper timing is essential for successful slip propagation. Begin by identifying your ideal outdoor planting date, usually two weeks after the last expected frost, when soil at 10 cm depth stays consistently above 18 °C for several days.
Work backward to determine when to start your slips. The process typically requires 7 to 8 weeks, and the selected roots benefit from a conditioning phase of 2 to 4 weeks before sprouting. In many temperate regions, starting in early March allows for planting by mid-May, alongside warm-season crops such as peppers, okra, or melons.
A simple preliminary test involves placing roots in water: those that float are often more vigorous and may produce better-tasting tubers. Discard any roots showing discoloration or streaks wider than a pencil lead, as these may indicate viral infection.
Conditioning Roots for Maximum Slip Production
Conditioning boosts both the number and quality of slips. Place selected roots in shallow trays or crates without soil, keeping them in a warm, humid, well-lit space for two to four weeks. The ideal environment is 24 – 29 °C with about 95 % humidity. This process heals cut surfaces and stimulates the formation of buds that will later develop into slips.
Conditioning is especially valuable in cooler regions where sweet potatoes can be slow to sprout. A greenhouse bench or a warm indoor propagation area often works well, provided it maintains steady moisture without waterlogging the roots.
Germinating and Growing Slips
Once conditioned, the roots are ready to sprout. Arrange them flat and close together in trays filled with freely draining, moist planting mix. They do not need to be fully buried; light exposure helps encourage uniform growth.
Maintain warm, humid conditions similar to the conditioning phase. After 5 to 7 days, you should see shoots emerging. Monitor daily, keeping the soil moist and feeding occasionally with a dilute liquid fertilizer if the medium is low in nutrients.
When shoots reach 15 to 30 cm with at least 4 to 6 leaves, cut them cleanly from the mother root using a sharp, sterilized knife rather than twisting them off, which can spread disease. Place the cut slips in water for several days to encourage additional root formation before transplanting them into shallow flats of moist compost. These rooted slips will be sturdier and more resilient when moved outdoors.
Planting Techniques for Better Yields
Ten days before planting, begin to harden off the slips by gradually exposing them to outdoor conditions. This acclimatization improves survival once they are transplanted to the field or garden.
For larger, well-formed tubers, plant slips vertically. If your priority is a higher total yield of medium-sized roots, lay them horizontally 5–7 cm deep, burying 3 to 5 leaf nodes and leaving only the tip above ground. This method promotes more root formation along the buried stem.
In cooler climates, using black plastic mulch to pre-warm raised beds for several weeks before planting can increase soil temperature, reduce weed pressure, and improve overall yields. Drip irrigation is particularly effective under mulch, as it delivers water directly to the root zone while minimizing weed competition.
Disease Prevention and Tool Hygiene
Healthy slips depend on strict hygiene during cutting and transplanting. Use a well-sharpened knife to minimize tissue damage. Disinfect the blade regularly—ideally between each batch of slips—by dipping it briefly in rubbing alcohol and allowing it to air-dry.
Keeping slips from different mother roots separate during propagation also helps reduce the spread of soil-borne pathogens. After finishing, clean the knife thoroughly with warm soapy water, dry it completely, and lightly oil the pivot and blade to prevent rust before storing.
Such care in handling not only maintains slip health but also preserves high yields in subsequent plantings.
Sustainable Practices and Local Resilience
Producing your own sweet potato slips contributes to on-farm sustainability. By reducing reliance on external suppliers and transportation, you cut both costs and the carbon footprint associated with commercial shipments.
Local propagation also supports regional adaptation: slips grown from roots selected on your farm are better suited to your soil conditions and seasonal weather patterns. Combined with methods such as crop rotation, organic soil amendments, and careful water management, this approach strengthens the resilience of your farm ecosystem.
In areas facing unpredictable spring weather or shorter growing seasons, the flexibility to plant in stages rather than all at once can make the difference between a marginal and a successful harvest.
Toward Healthier, More Reliable Sweet Potato Harvests
Growing your own slips requires some additional planning and care, but the rewards are significant: sturdier plants, improved early growth, and consistent yields. It also empowers growers to refine their crop over time by selecting the most productive and disease-resistant roots for future propagation.
By combining thoughtful timing, careful conditioning, and good field practices, both small-scale gardeners and market farmers can enhance their sweet potato production. As with many aspects of sustainable horticulture, the investment in skill and preparation pays off in the form of healthier plants and greater independence.
Cook in France is your independant source for food in France.